skip to main |
skip to sidebar
Ever since I bumped into a bee keeping local beer lover we've discussed making a honey wheat beer and sharing the batch and, this last holiday, I eventually got round to it.
The problem with adding honey to a beer is that honey tends to harbour rather a lot of wild yeasts. You can kill them by boiling but the simple act of boiling tends to drive off the honey aroma. Some brewers add it to the fermentation after the initial high krausen has died down and others prime the beer with it.
Being a bit of a prat, I decided to do all three. I added a jar and a half (about 350g) during the boil, a jar (227g) at the back end of the ferment and primed with 164g. If you're wondering why I've primed with so much sugar, an American homebrewer I've been speaking to on Twitter directed me to these extremely useful pages on priming solutions and how to calculate the amounts of sugar in them.
So, with the Honey Hill Wheat, I struggled with the volume of CO2 - it's not a measured term I've ever come across before. Turning to the table at the bottom of the page on priming solutions I've used the value 2.7 for American Wheat as I figured it was at the low end of fizzy. Once I decided that, the rest was pretty self explanatory and I ended up dissolving the honey into a little boiling water and put it in the brewfridge to warm condition for a week
3kg Pale Malt
3kg Wheat Malt
550g (ish) Honey + 164g for priming.
25G Hallertauer Hersbrucker 4%AA @ 60min
10g Sorachi 12.2 %aa @ 15 mins
Yeast Safbrew WB-06
OG 1055
FG 1006
ABV% 6.46
IBU 15.8
Brewlength 16L
Oh the joy of a bit of chill out time over the holiday period; not only did I get four brews on but I also managed to make some much needed modifications to my brewery.
I've been meaning to get round to these for ages but have been simply waiting for the time, or in some cases the money.
Chillers Plumbed in Parallel
 I've got two stainless steel coiled immersion chillers and, until I discovered a spare JG speedfit T-piece in my box containing odds and sods, I'd been plumbing them in series. I've got two because they have a fairly small surface area, much smaller than the standard copper immersion chillers, and I have always plumbed them in series, that is with the cold water going into the bottom of the first chiller, out of the top, and then in the bottom of the second one, etc.

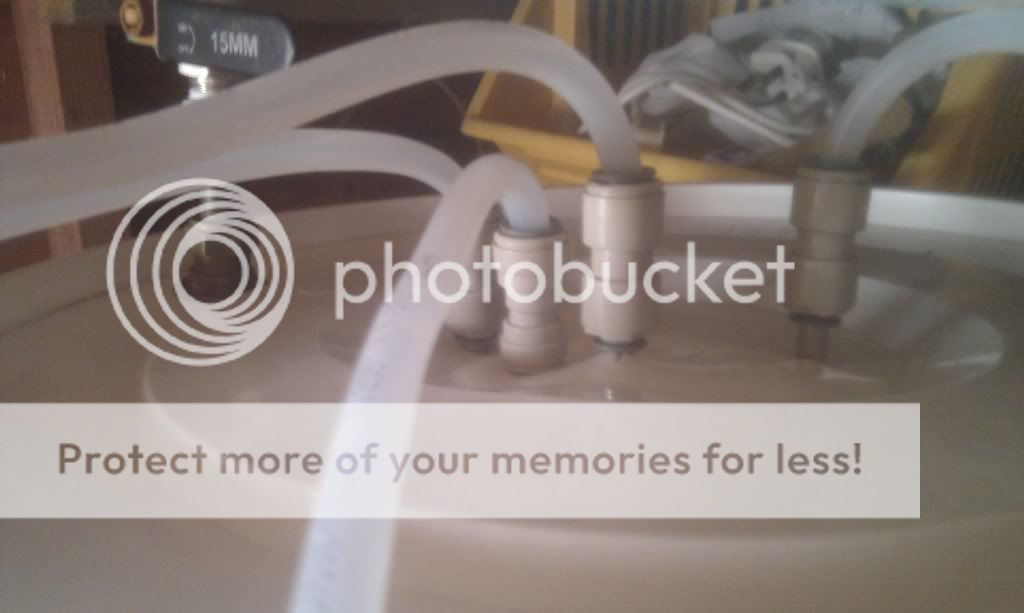
It has often occurred to me that if I have them plumbed in parallel (i.e. via T-pieces) I could get a quicker crash cool, either by having them both cooling from the bottom up, top down or one of each. It's too soon to say whether or not this set up cools beer quicker but at least I've got a little more flexibility. I've also taken the opportunity to connect the chillers through the lid of the boiler. This has the effect of suspending the chillers directly above the hop strainer so I should be able to close the lid of the boiler without bending the plastic pipe on the top and risk springing a leak into the wort.
Boiler Exhaust
One of the things I've had to deal with regarding brewing in the shed is condensation, and I've realised that not only is it ruining the shed but it's a potential source of infection as well, especially if condensation dripping from a cobweb filled ceiling drips back into a cooling boiler.
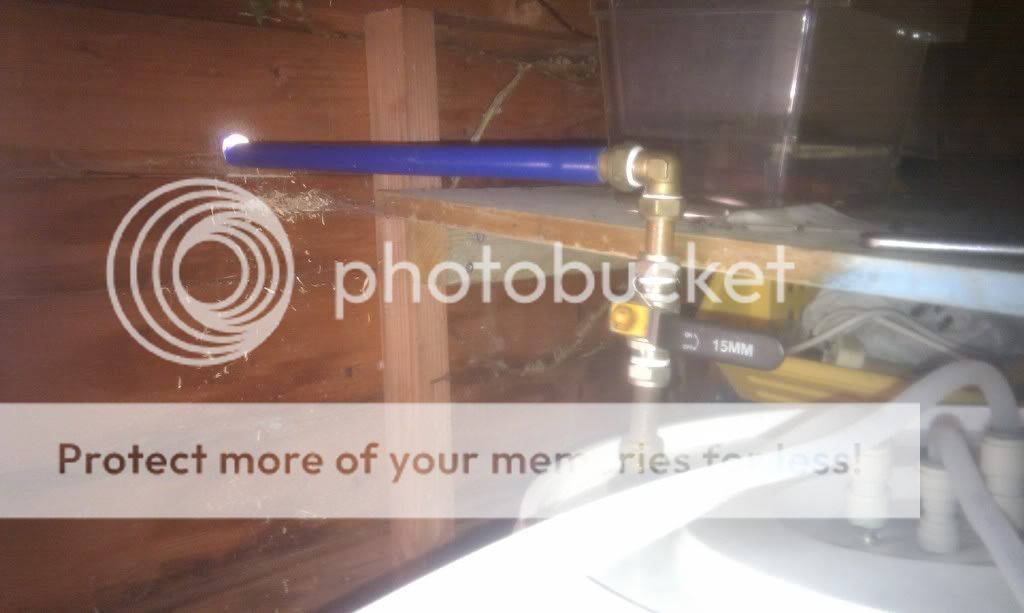
So I've bastardised a tap set up from an old and broken hot liquor tank and drilled a hole in my boiler lid for a tank connector and popped a ball valve and 90 degree bend so that the the exhaust can go out of a hold I've drilled in the side of the shed.
I've added the ball valve for a couple of reasons; firstly I can close it when I add flame out (aroma) hops so I can stop the aroma escaping but also because I am planning to connect the water feed into the shed through the exhaust and I want to be able to shut it off when necessary.
Motorised Wort Pump
I've written about my wort pump before. Until now I've been operating the flojet pump with a hand operated pressure spray. As friends who have brewed with me, pumping 38 litres of wort between mash tum and kettle is no fun at all but I wasn't about to spend £100+ on a compressor to operate the pump.
So when he was Brew Monkeying for me one day, my good friend Matt suggested I modified a tyre inflator to do the same thing. I was a little reluctant at first but when I went to check my tyre pressures and realised the hose on my inflator had broken, I realised I had nothing to lose.
I cut off the tyre adaptor with a a pipe cutter and then heated some silicone tubing in warm water to join the high pressure hose to the 3/8" OD beer line that goes into the flojet pump. The compressor/inflator works on a 12v DC cigarette lighter adaptor so I cut that off and connected it to a rechargeable 12v battery that I used for another, now redundant, project; it even fits in the recess of the pump so it's all rather small and cosy.
I've tested the pump and it seems to recirc 30 litres of water in no time, I'll be testing it at the weekend so I'll be sure to let you know how the new modifications performed.