Friday 6 May 2011

Liquor Treatment

So, now that I've got the more basic parts of brewing sorted it is time to deal with the aspect of brewing that leaves me cold. Water chemistry.


I was never much of a student at school and, although I loved chemistry dearly, Mrs Flowerdew seemed to take my enthusiasm for being a pain in the arse and issued me with minuses for effort on a monthly basis. Consequently, in spite of scoring a respectable, if not outstanding, 66% in the end of year exam, I was not selected to take the subject to O level. 


Couple that with a general crapness at maths and maybe you can begin to see my reticence to attempt water chemistry. 


Luckily for me at The Home Brew Forum they have a series of really useful calculators and together with a water report from my local water company, it completely demystified the whole process for me. Having said this, I've yet to brew a beer with the modified water, erm sorry liquor, so perhaps I ought to reserve judgement.


First things first, I needed to get a water quality report from my water provider. This proved to be easier than some pro brewers have found. I went on my water providers website and filled in the contact form, 10 days later (not bad given that we've had two consecutive bank holiday weekends) I have a water report from which I plug the relevant concentrations into the THBF's water treatment calculator, then choose a beer style from the drop down menu and away we go. 


The last word on water chemistry calculations should go to Yellerbelly Brewery who blogged about it a year ago. He keeps winning beer competitions so he must be doing something right and I suspect attention to detail is a large part of it.

Thursday 5 May 2011

The Easy Home Brew Guide To Bottling

I wrote this for the other blog I write for. As there is some crossover I thought I'd publish it here too

Often referred to as the "home brewers biggest pain in the bottom" bottling takes time but, if done in an organised manner it can be mildly tolerable.


Priming


For me the most laborious aspect of bottling was putting priming sugar in each bottle so one of my early purchases were a little bottler and bottling bucket. Using this method of bottling eliminates this particular hassle and also ensures you get less sediment in the bottle. 

Racking from fermenter to bottling bucket


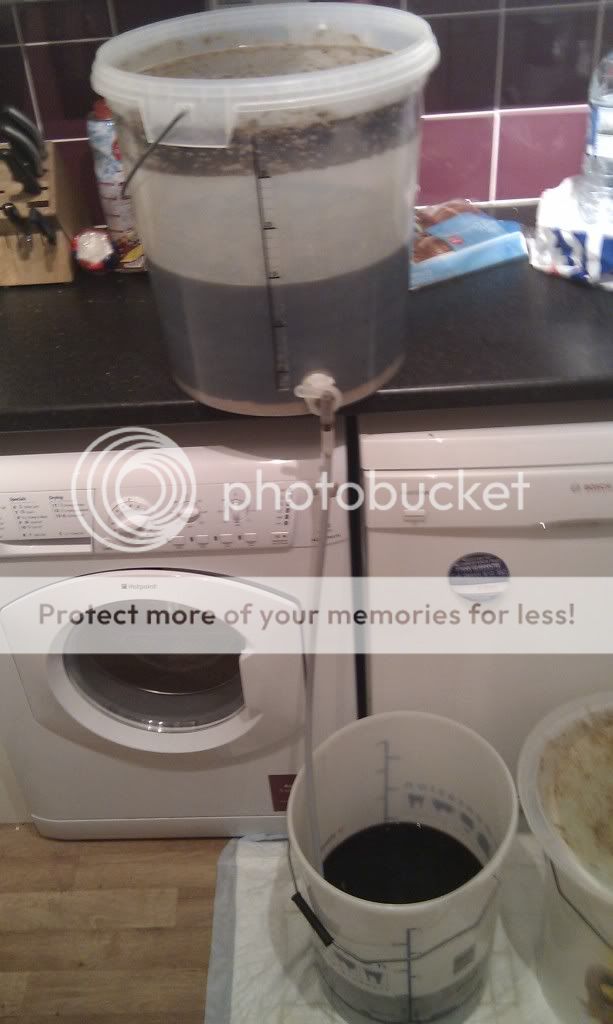
A bottling bucket is simply a fermenter with a 25mm hole at the bottom of the wall to accept the little bottler. The idea is that you simply rack the fermented beer in to the bottling bucket using a syphon. Leave the beer in there for 24-48 hours for it to settle out. Then you need to draw off about 200-300 ml of beer into a sterilised jug and warm it in the microwave (you can also warm it on a hob if you have no microwave). You then add the requisite amount of priming sugar (i.e.85g per 23L) and return in to the bottling bucket gently so as not to introduce too much oxygen. 


After that it is simply a case of adding the bottling wand and bottling away; the valve at the bottom of the bottling wand opens when it touches the bottom of the bottle and allows the beer to flow through, when the beer reaches the top of the bottle, withdraw the wand and, hey presto, you've got the requisite amount of head space.


Cleaning and Draining


The other godsend I couldn't bottle beer without is the bottle rinser and drainercombination. Since I sterilise my bottles (and the drainer) in the bath, I then need somewhere to drain them whilst one of my teenagers requires the bathroom. I've taken to adding three chlorine bleach tablets per bath of water, leaving the bottles, rinser and drainer in there for half an hour.


When I'm sure the bottles are sterile, I take the drainer and rinser out, assemble it and then take the bottles out of the bath and leave them to drain. I then fill the rinser with boiled and cooled water and the bottling production line is almost complete.


Capping


Unless you use PET or swing top bottles, the final part of the bottling production line is capping. We sell three types at Easy Home Brew; the single handled hammer on capper, the twin lever capper and the bench capper. If you bottle a lot, I would look no further than the latter, because you can cap any bottle designed to take a crown cap which cannot be said for the twin handled lever capper. When using the bench capper, it will greatly assist your production line if they are all the same height as this will prevent you from having to adjust. Whichever method of capping you choose, please remember to sterilise your crown caps.


Production Line


I tend to use two crates which holds 20 bottles each. I fill these with beer then turn the tap on the little bottler off (you may need to place a jug underneath to catch the drips), I then move the first crate to another part of the kitchen, and cap them before starting on the second crate. This means the beer is not exposed to air longer than absolutely necessary. 


Once the bottling is done, I label, pack into wine crates, which I also label and leave in the warm for a week (circa 20c) before transferring to the shed (c13c) for a period of conditioning.