Wednesday 29 December 2010

Temperature Conundrum

I've tried rewriting this post a few times now, and I can't get it to sound any less geeky. So I'm just gonna embrace my inner geek and roll with it.

I was having a particularly testing brewday today, due mainly to my failing to get an early start because of the cricket in Australia (I've been up nights for the last three or four days and today the body said no more).

This was my first brew with my new HLT and sparge arm and it worked flawlessly, which is more than I can say for the mash tun. I really ought to service my brew plant after every few brews because, whilst sparging, the ball valve to my mash tun fell off. Luckily I managed to push it back on and didn't lose too much wort but my worst nightmare came after darkness had fallen.

Given the fail in my mash tun, I chose to test my chillers. I have three 10mm bore stainless steel chillers plumbed in series. I ran some water through them which duly pissed out at the JG fittings. I looked and saw that I'd lost one of the little black washers so I had to replumb and got down to two chillers until I can get some more 10mm JG fittings.

Having established the watertightness of my immersion chillers I then set about chilling my wort. For the second or third time, I've been using an aquarium thermometer to measure the temperature drop with the probe dangling in the wort. Today it was dangling near the bottom of the copper, and reading 10C lower than the wort at the top. I wondered how this could be, and then I checked the chillers. The coils finish about 5-7cm from the top of the wort for one thing, and then the cold water is fed into the bottom of the first chiller.

I'm guessing that the heat exchange only works at the bottom of the wort, which has led me to consider whether I might plumb my two chillers in parallel with the cold water feed going from the bottom in one and the top in the other. I wonder if this will lead to more efficient cooling?

Thursday 23 December 2010

Converting a "Burco" style boiler to a Hot Liquor Tank

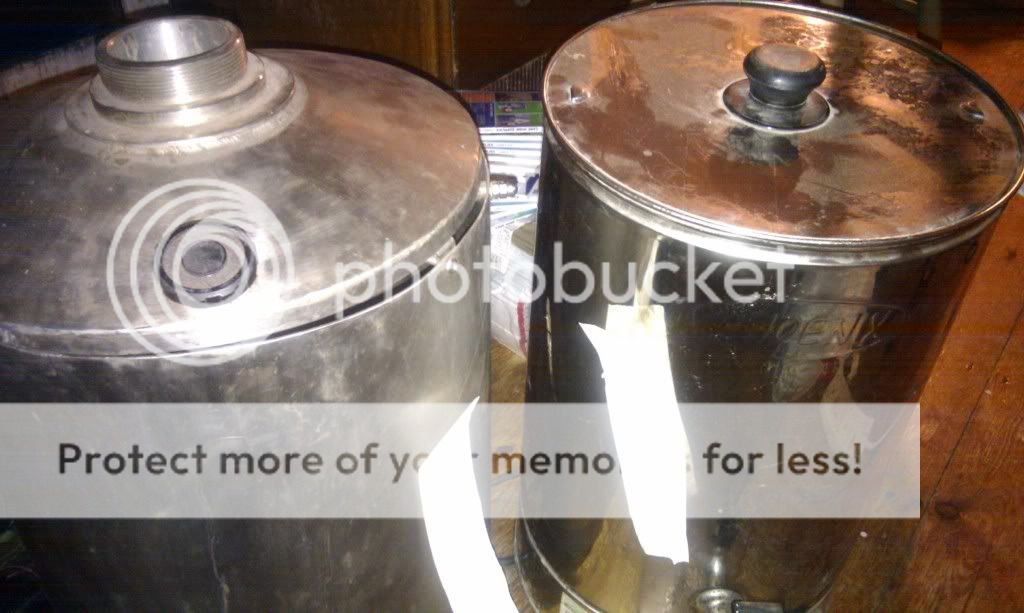
As I may have bored you about recently, I picked up a 25L tea urn type boiler a couple of weeks ago for next to nothing (did I tell you I only paid a fiver) and today I set about converting it into a Hot Liquor Tank (HLT).


First of all, why would you want a separate HLT and Copper? Many brewers quite happily manage without as did I until I realised how much more convenient it was to have the copper bringing the wort to the boil at the same time as I was finishing off the sparging.


So, without further ado, take your boiler, descale and clean it if it is a second hand like mine was then remove the tap. Actually, if you don't want to remove the tap it wil stiff function perfectly well but I want to fly sparge, again to save hassle and time so I've made the conversion.


You will need

  • a length of 15mm copper pipe
  • a 15mm compression fit ball valve
  • two 15mm compression fit end caps
  • a 15mm tank connector
  • 90 degree elbow
  • 15mm speed fit t-piece
  • PTFE tape

Tools

  • 2 x adjustable wrenches
  • pipe cutter
  • scissors
  • drill & drill bits

You could use a compression fitting T piece but, as I need to remove and attach the sparge arm frequently, I've opted for the speed fit option.


First thing to do is to place the tank connector into the void left by the removal of the old tap. Try to get it as central as possible to avoid potential leakage.


Seat the tank connector into the aperture vacated by the old tap.

Once the tank connector is in place, assemble the ball valve and 90 degree angle with the three bits of pipe required to connect them together. While putting these together get then roughly in position and trim the pipe afterwards if required.

The first part of the tap configuration


Once I'm happy with the alignment, I dismantle and reapply piece by piece with PTFE tape. It is important to apply the tape in the opposite direction to the travel of the nut to ensure a good seal. The finished assembly should look like this.

The finished assembly.

When you've completed that, it is time to test it for watertightness under pressure. For this it is important to fill the vessel as full as you can and then put it on to boil. If you see any leaks - note from where, drain down and reseat where necessary.


While the water is coming to temperature, you can start on the sparge arm. You don't have to use a T-piece, you could just as easily use another 90 degree bend but I've chosen this method. All I did here is cut the remaining pipe in half and fit the endcaps to the speedfit tee. To end up with this.

Sparge arm, ready for drilling

Tomorrow I shall be drilling in on each side of the tubing (i.e. 90 degrees each side of the upright part of the tee) so the water will exit both sides of the sparge arm. Hopefully I will be able to test this sooner rather than later, on a brew between Christmas and the New Year.

Monday 20 December 2010

What's On the Bar this Christmas
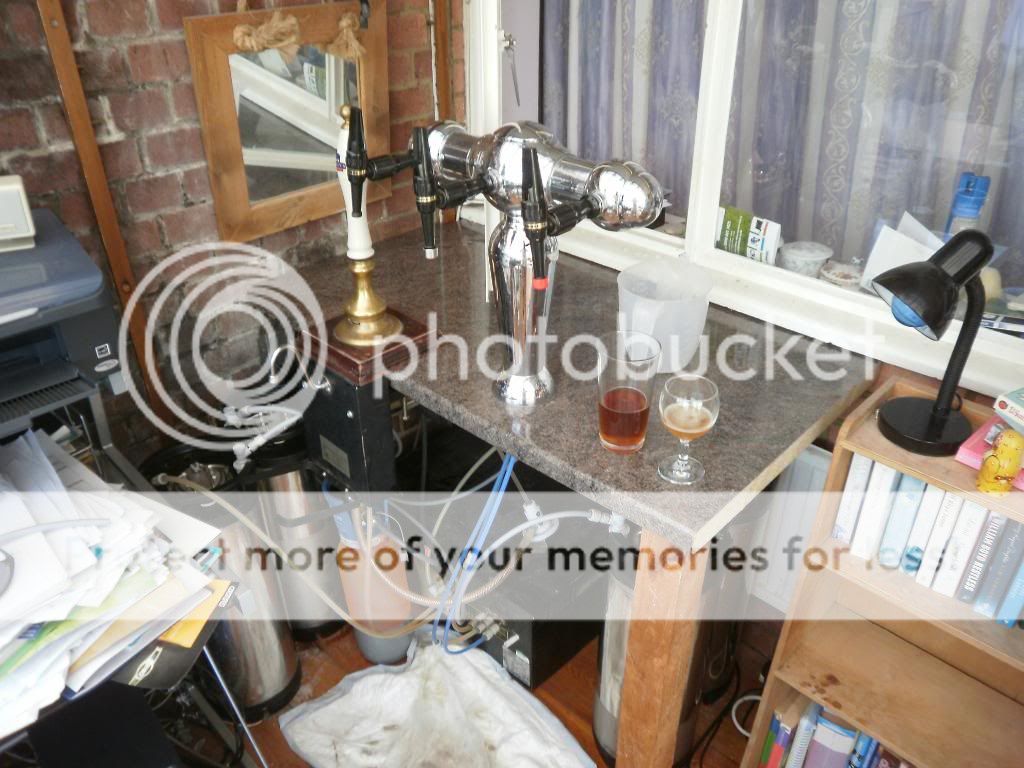

I filled the Cornie with some Irish Extra Stout this evening, and realised that I've now got three of them on at once which must rank as pretty bad planning.

I'm sitting here trying to decide which three to connect up to the T-bar and which one to put on the beer engine. Will one particular style lend itself to hand pull and does it really matter if they are all in kegs anyhow?

Anyhoo, I've got one beer connected to the T-bar at the moment and that's the Oatmeal Stout which must be due to finish soon. The full list is as follows.

Cornie 1 - St Petersburg Imperial Stout
Cornie 2 - Oatmeal Stout
Cornie 3 - Belgian Dubbel Bubble
Cornie 4 - Whispering Bob American IPA
Cornie 5 - Sanitiser (in Preparation for Irish Extra Stout)
Cornie 6 - Beer line cleaner.

So, if there's any consensus on what goes better where - I'd be pleased to hear it. And, no, I'm not going to be drinking beer line cleaner any time soon.

Going to be brewing between Christmas and the New Year and I'm trying to decide what to make. I really want to brew a Black IPA but I'm conscious that I've brewed loads of dark 'uns lately so might go for a simple Tony Christie Pale Ale but I'm open to suggestions so do fire away.


Christmas Brewery Modifications


Delighted to report that I've been able to source a cheap hot liquor tank (HLT) for the brewery which should speed up some of the processes and enable me to start fly sparging.

However, due to the lack of headspace in the shed, I'm going to have to invest in a pump to send the wort from the mash tun (via a collecting vessel) to the copper. I've used a pump before but, frankly, it wasn't man enough to do the job and failed after three brews. So I've gone for a FloJet pump, a bit like one of these which will be operated by a compressor. As long as the compressor has a regulator on it, I should be able to control the flow just as I want it.

Work has been pretty bonkers the last few weeks and the weather hasn't exactly helped so I'm hoping to spend plenty of time in the shed over the festive period. For a guy who is pretty awful at DIY, building the brewery has been strangely therapeutic most of the time. The biggest challenge has been getting everything watertight but the joy of achievement far outweighs the frustration of leaks.

I approached the conversion to all grain brewing with some trepidation but, with 20 brews under my belt, I now realise it was the only way forward if you really want to brew "your own" beer. I hope that readers of this blog realise how easy it is to brew in this fashion; in the new year I hope to conduct some all grain demonstrations at Easy Home Brew in Ashford. Stay tuned for more updates.